Does a mission that is hard to complete and offers lesser rewards trouble you? The main loophole is that it doesn’t imply what you must do! I understand the scenario, as this quest disappointed me as well. Similar might be your case, and when you want to complete Destiny 2 Corsair Down, I have covered the full-fledged guide.
It’s not as difficult as it seems since it is a 5 step process and six potential locations where you can execute your skills. Use your intelligence and battling skills to unleash some rewards of gratitude.
What is Corsair Down in Destiny 2?
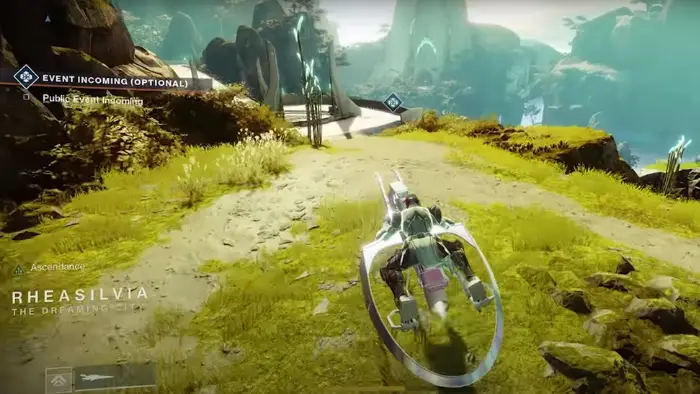
When you patrol Dream City, the quest “Corsair Down” will pop up. The in-game play doesn’t suggest anything about how you can complete it.
Moreover, it seems pretty boring to complete the mission and comparatively offers lesser rewards. This makes it essential to complete the quest, and its drop rate is low!
The fundamental aim of this quest is to locate the demised soldiers, and further interactions would lead toward the battle. It’s fine if you do not know how to complete it, as most others do.
The following section will help you do it!
How to Complete Destiny 2 Corsair Down Quest?
There are several steps to follow while completing the Corsair Down Quest in Destiny 2 Forsaken. Follow each of them sequentially and give your best to Redeem the batch!
Step 1: Check the Inventory
When you doubt that you have been assigned a mission, open your inventory to check it.
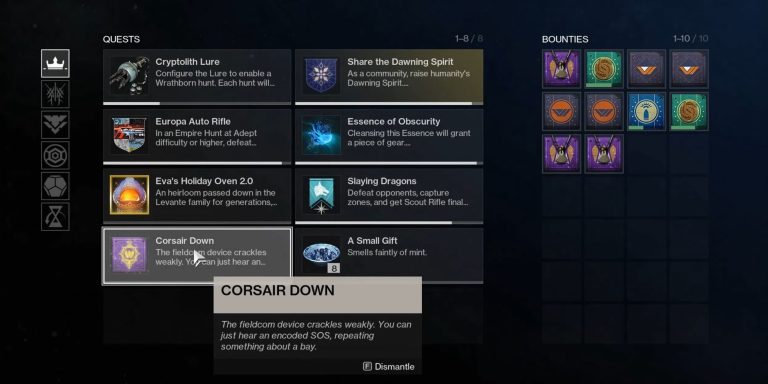
Step 2: Inspect the Communication Instrument and Look for Hints
View the description in your inventory, and it will be a kind of communication instrument. Soldiers must have sent these as an SOS message so you can help them out.
It would have a description that contains a riddle sort of thing as a handwritten message. This riddle hints towards their location and usually includes any probable sites.
The sentence of the quest description indicates the hint.
Step 3: Reach the Hint Location and Find the Body
Depending upon the hint, there would be different locations. Each of these locations has a specific place about where you will go!
| Riddle Type | Location |
| About Aphelion | Aphelion’s Rest |
| About Bay | Bay of Drowned Wishes |
| About Chamber | Chamber of Starlight |
| About Garden | Gardens of Esila |
| About Harbinger | Harbinger Seclude |
| About Spine or Mist | Spine of Keres |
It’s essential to know that by reaching the spot, you will realize it’s too late. The soldiers are starving to death, yet you have to continue the venture!
1] Aphelion
When you get a hint about Aphelion, move to Aphelion’s rest and go upto Aphelion’s Rest. Next, jump from the edge and search for the cave at the location.
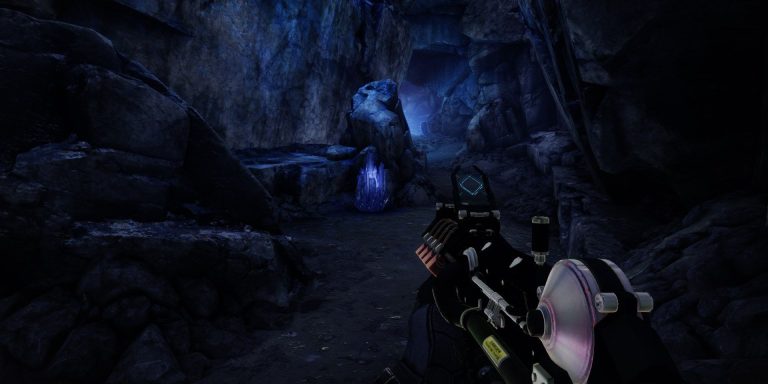
- Enter the cave and go near the Taken Thrall’s middle portion. Here, adjacent to the boulder, you will find one body.
- Head over to the Dreaming City Tower Sculpture, and you will find another body beside it.
- Next, jump on the top of the Dreaming City Tower Statue.
- Go to the Lost Sector Chest located in the Chamber area. Towards its left, there will be another deceased body.
- In the area behind the chest, you’ll find a few narrow platforms or steps. Jump on those platforms one by one. On your right side, there’s a wall, and next to it, you’ll see another body lying on the ground.
2] Bay
As specified in the table, move towards the Bay of Drowned Wishes. Head over to the back of the landing side to enter the location.
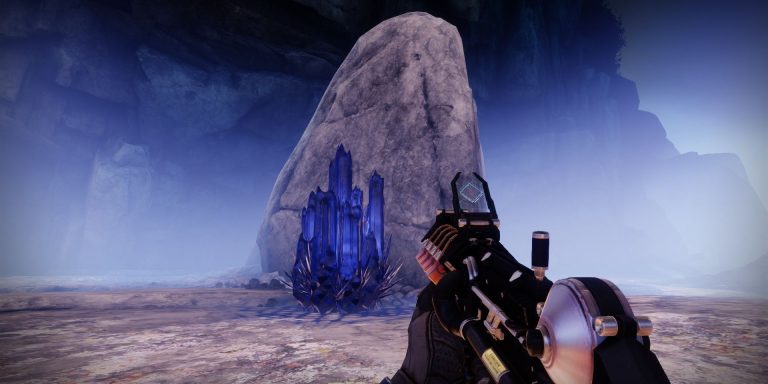
- At the cave’s entrance, the first body will lie close to a large boulder.
- Find a foggy area and see the left-most rock visible from where the first creature emerges. You will find a dead body at that spot.
- Again go to the cave’s entrance and keep chasing the right stone wall until you find a split path.
- Inside the boss’ cave, where mist surrounds, there will be a hidden rock. In it, you would see another dead body.
3] Chamber
When the description points towards something about the chamber, move towards the Chamber of Starlight.

- In the room’s central location, towards the left of a rock, a body will be in the red grass.
- Chase the dingy road to the next room and climb on the edge.
- You will find the second body on the right side. After going a little ahead, there will be a little boulder. Near it, there will be another deceased body.
- Follow the wall you found the latest till you arrive at the corner of the area. Here, there will be a fourth size.
- In the Lost Sector Chest, move to the right on the sealed Dreaming City doorway for another body, if any.
4] Garden
When the description is about a garden, without any further consideration, navigate to Gardens of Esila.

- Walk down the stairs and move to the circular platform with a tree over it. Move ahead of the tree, and you will see a body leaning toward the wall.
- To the north of the body you found above, there’s another deceased body.
- Go to the western side of the garden. Here you will again find a dead body towards the ridge of the platform.
- To the north of the body you found latest, there will be a disrupted Awoken statue. Locate the body near it.
- Look beside the stairs, and at the entrance of Harbinger’s Seclude, there will be the last body of Gardens of Esila.
5] Harbinger
Since you have already been to Harbinger, go near the Harbinger Seclude to find the following dead bodies.
- On the right of its entrance, you will find the first deceased soldier’s body.
- Head to the Cryptolith chamber, and near the next to the gate’s pillar, you see another dead body.
- Now, move inside the room, and a rock will be on the left. Here, there’s the third body.
- Go to the northern end of Awoken building. Outside its wall, you will find another body of the soldier.
- Now, for the last one, move towards the other room. Climb down and walk til you find the lift shaft. From the pillar, there will be other deceased bodies.
6] Spine or Mist
Spine or Mist is the last probable location where you will find the deceased body. When hinting towards Spine or Mist, locate the Spine of Keres. There will be an Observatory with Oracle. Navigate to the northwest of this location.

- Reach the coast, and near the large rock, you will find the first deceased soldier’s body.
- The land reaching the seaside, find the cliff. The second dead body will be near it.
- Hop down from the point mentioned above to find the third body.
- Move on the shabby road on the coastal side till you find a stack of stones. On the stack, here will be the fourth body.
- From the stack of stones, move to the left and find a small rock. Around it, you will see the fifth and last body.
These were the potential locations where you would find the deceased soldiers.
Step 4: Communicate with the Deceased Body
Since the soldiers had sent you an SOS, you must try to interact with them despite their dead status. It’s because though no longer alive or almost dead, they would try to communicate.
Step 5: Defeat the Boss
After the communication, the boss would appear at the deceased soldier. You have to give your best try to defeat him to redeem the Corsair Badge.
How to Get Rewards from Corsair Badge in Destiny 2 Forsaken?
The low drop rate Corsair Down quest is tedious to complete. So, after completing and earning the badge, you would have heaved a sigh of relief. Now, take it to the Queen’s Guard Camp, which is near the Divalian Mists. Apart from you, there would be many NPCs.
- Communicate with any of them and show your Corsair Badge
- They will show grace since you carried the demised soldier’s badge to them
- After taking it, they will reward you
You would get gears and other stuff which will help you in-game.
The Bottom Line
Completing the Destiny 2 Corsair Down quest seems a daunting task. It seems a massive challenge as it doesn’t give an idea of what you must do precisely. Further, with a low-drop rate, it becomes tedious to complete it, yet it is necessary.
Fortunately, with the guide, you would have got to know what to do. The five-step process involves opening the Inventory, checking for SOS, and reading the riddles. In it, deciphering hints and finding the location is a significant step. After knowing it, reach the exact site and discover the demised soldier bodies.
Try to communicate with them, and the boss will appear around. Defeat him to get the Corsair Badge. Next, hand it over to the NPCs and earn rewards. It was easy-peasy! Beware you a PlayStation player who wants to monitor your friend’s Destiny 2 journey as well? So, enable PS5 Picture in Picture for the purpose!